Pom Pom Coasters
I have been having a really off week so obviously it was time for a craft project. I have these cork coasters that are stained and are no longer absorbing liquid, which leads to condensation pooling and spilling. So I did some Pinterest surfing and decided to try this cute craft where you add colorful pom poms to the coasters. Original coasters were bought years ago, and as you can see by the image below have a little lip.

What you’ll need for this project is nice and simple:
a set of cork coasters
a hot glue gun
extra hot glue sticks
fun 1 cm Pom Poms
I’m sure you can use coasters made of other materials, but these are the coasters I had that needed a reboot, they are 4 inch coasters. I would avoid using glass coasters only because I don’t think the project would last long. As for the glue gun, not even sure when I got it but it has come in super handy, and I used a little less than one and a half glue sticks. Side note, I did a test with Tacky Glue, and it just didn’t work, plus the hot glue sets MUCH faster.
I have to admit I went to Amazon for the Pom Poms, mostly because I don’t own a car and its just easier for me. I used the Pom Poms found HERE, you of course can use any you like from your local craft store. I would suggest keeping the pom poms close to the 1cm size because if you go too large it may be too bulky. I used approximately 115 pom poms per coaster, this will vary as the pom poms are not exactly the same size, and you may squeeze some in more than others.

Once you have your supplies gathered plug in your glue gun, with something under it to catch drippings. I usually use a scrap paper or some parchment paper, in this case it was a scrap envelope. Place a dot of glue in the center of your coaster and press a pom pom down on the glue. From there you’re really just working with the glue and pom poms in outward circles. I placed each pom pom down pressing it towards the middle and up against the last pom pom I had just glued down. When I was done with each section I also used my palm to press down to ensure everything was sticking properly.
See the photos below that help show some of the progress. Another side note here, I decided to keep the color choices random. This was because my OCD would have kicked in and this would have taken forever to complete. You of course do not have to make this random, feel free to create a pattern, add an initial, stick to a color scheme. Really make them your own.

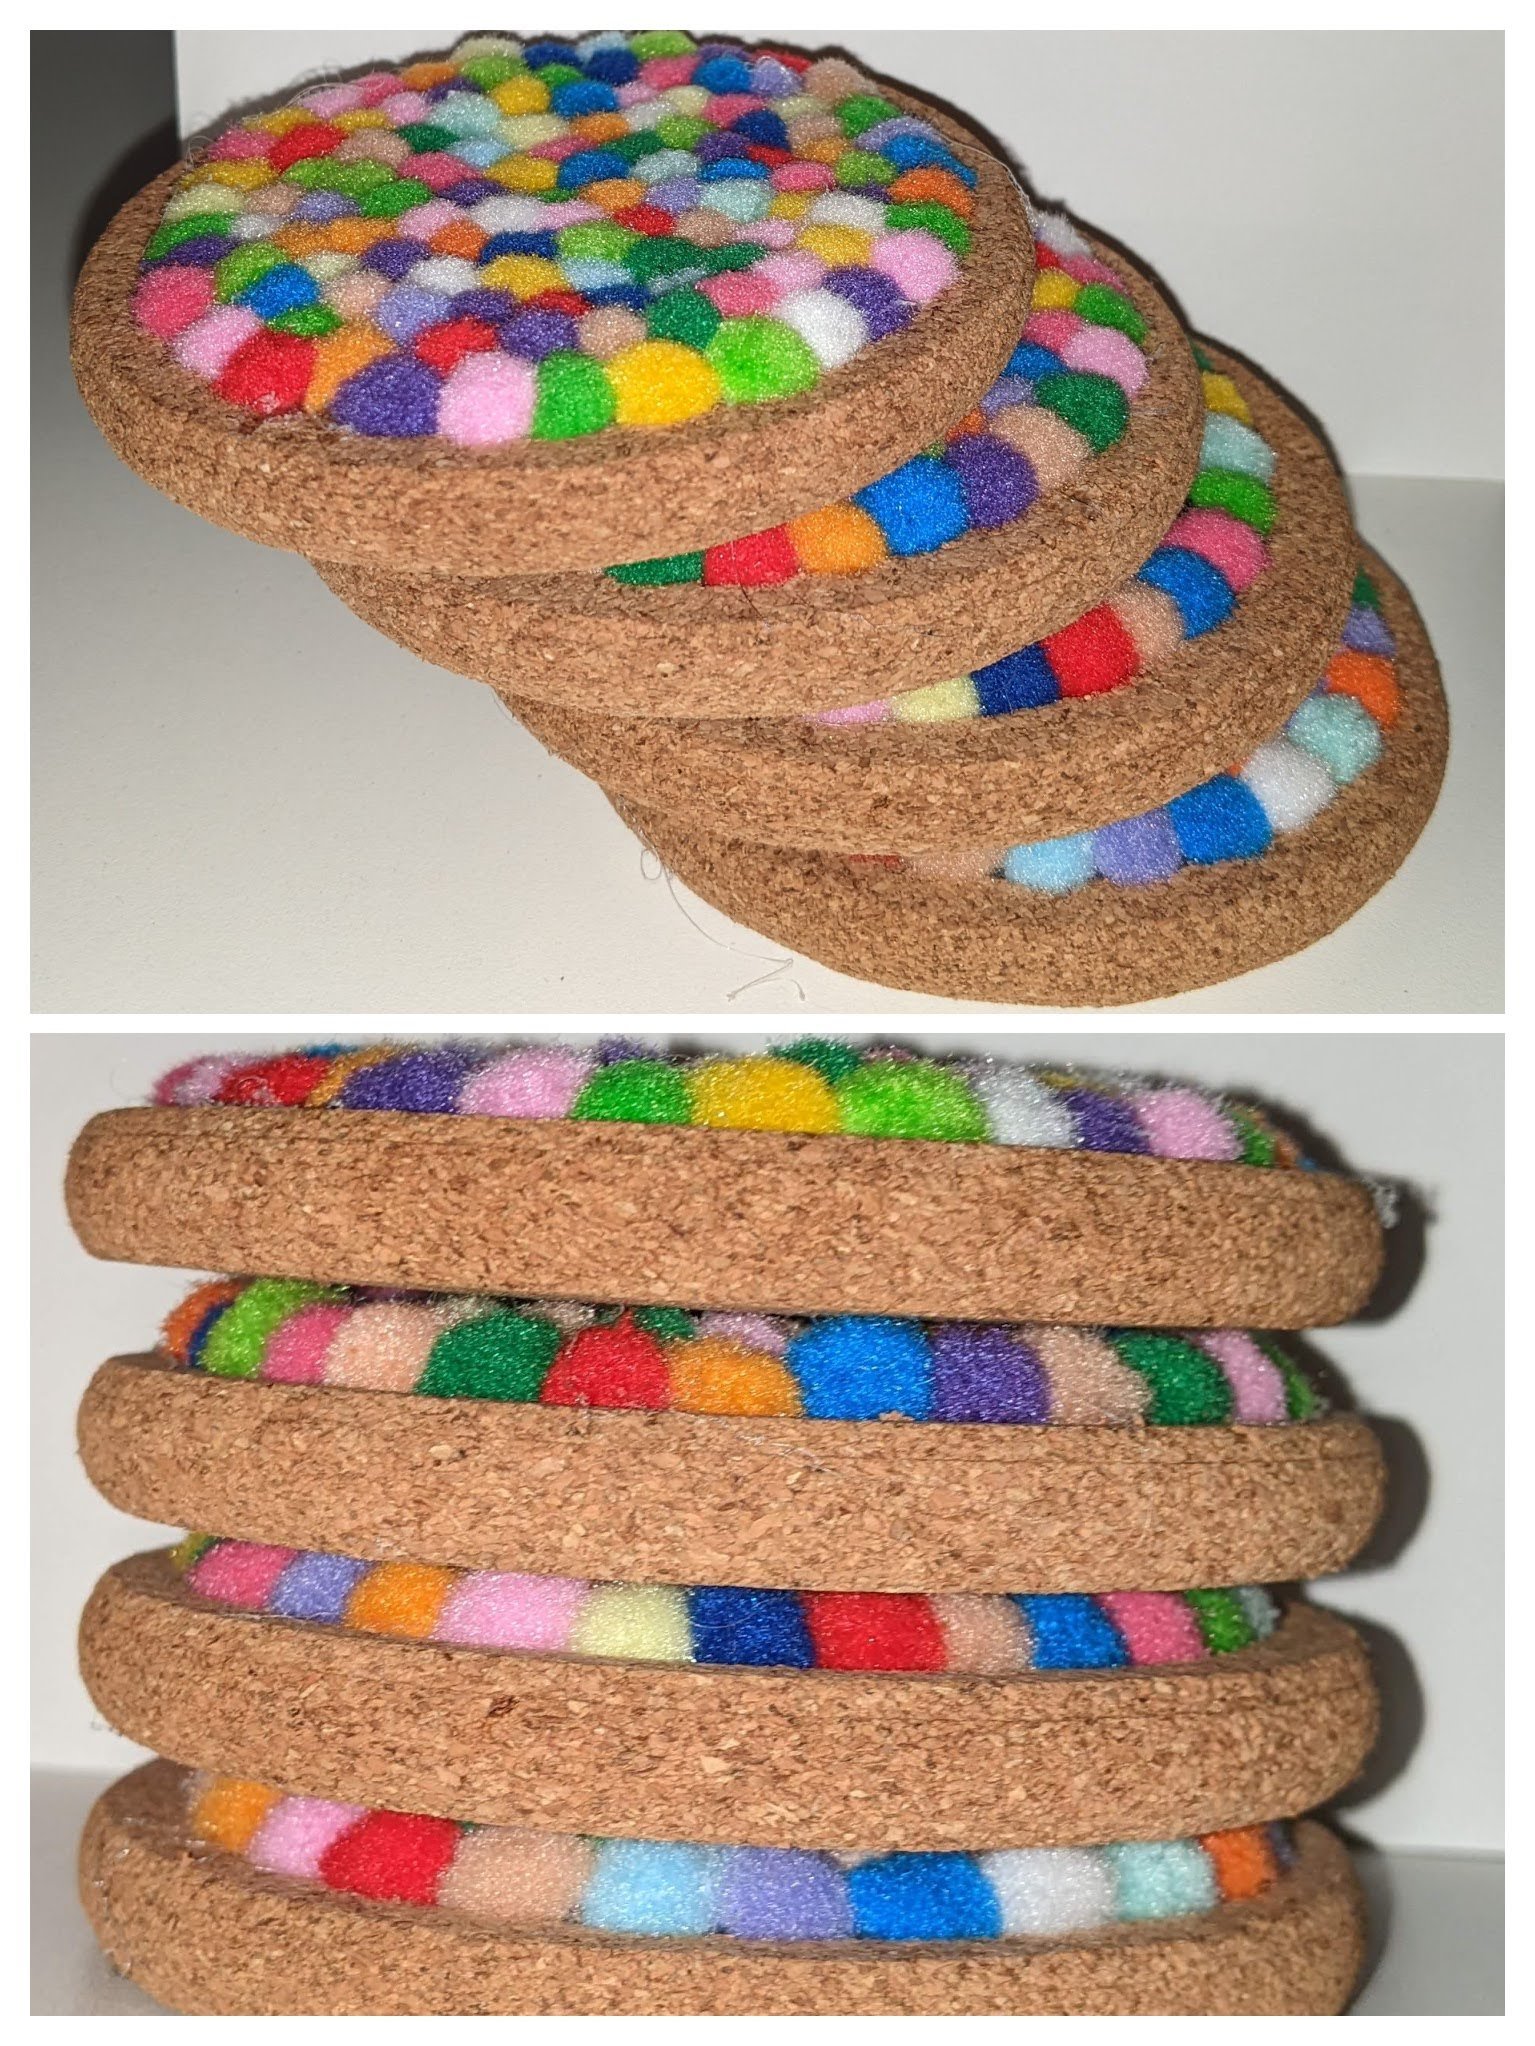
That being said you’ll see that the first one has a few black pom poms, but I felt they looked out of place, so the other coasters do not have any black pom poms. Which is pretty obvious if you’re looking at all of them spread out, like in the photo below.
Because these coasters have a lip I decided to stop at the lip so the pom poms just filled the depressed portion. You can of course cover the entire coaster if you do not want to see the cork. When I was done gluing down in the circular motion, I went back and filled in any gaps around the edges. This last part was a little more dangerous because pressing down causes the glue to move upwards towards your fingers, so if you do this as well be careful.

And there you have it! I’ve turned these stained coasters into a fun little conversation piece. I also have solved my condensation drip problem.
If you decide to try this out please reach out to me with photos, I’d love to see your finished project!
Happy Crafting!!